I know that there are several online tutorials on how to knit backward, but mine is different. My tutorial doesn't have photos and it doesn't have photos for a reason. Humor me and read on.
It's no secret that several styles of knitting exist: English, continental, combined, American, etc. On top of that, each knitter actually has his or her own style. No two English knitters hold the yarn the same way, move the yarn the same way, and move the needles the same way. So, instead of me showing you how *I* knit backward, I'm going to teach you how to teach yourself to knit backward. This method is more intuitive than following photos or diagrams and is the way that I taught myself to knit backward. You can also use this method to teach yourself how to purl backward.
What is knitting backward? To me, it means that I am doing a "purl" row in stockinette with the knit side facing me. Instead of the moving the stitches from the right needle to the left needle, I'm moving the stitches from the left needle to the right needle.
Why knit backward? When a pattern requires a small number of stitches to be worked in stockinette, it can be a pain to be continually turning the work. I knit backward when doing entrelac on
Lady Eleanor. Those wanting to knit the Lady,
Danica from the new Knitty, or the
Ruffles scarf from Scarf Style may find knitting backward to be helpful.
Set up: Cast on a bunch of stitches and knit a row.
Step 1: Turn your work so that the purl side is facing you. Stick the RH needle into the first stitch as you would normally do when you purl. STOP! Keeping the needle in place, turn the work around so that the knit side is facing you and you are holding the needles comfortably. (That means you'll have to switch the needles in your hands).
LOOK at the needles. Stare at the needles. Memorize how the needles are positioned. The way the LH needle pokes through the stitch on the RH needle is the way you need to insert the needle when knitting backward. Remove the LH needle and reinsert it in the stitch so that it looks the same as before. Do this a few times. Teach yourself how you have to move the needles.
Step two: Turn your work around so that the purl side is facing you again. Stick the RH needle into the first stitch as you would normally do when you purl. Wrap the yarn around the needle as you would normally do when you purl. STOP! Keeping the yarn and needle in place, turn the work around so that the knit side is facing you and you are holding the needles and the yarn comfortably.
LOOK at the needles and the yarn. Study how the yarn goes around the needle. Look at the needles from above if that helps. Memorize the position of the yarn and the needles. Unwrap the yarn and rewrap it a few times. Learn how to move the yarn. Then, remove the LH needle from the stitch completely, insert it into the stitch as you did in step one, and wrap the yarn around the needles. Practice the entire motion a few times.
(You know where this is going, right?)
Step three: Turn your work around so that the purl side is facing you again. Stick the RH needle into the first stitch as you would normally do when you purl. Wrap the yarn around the needle as you would normally do when you purl. Pull the yarn through the stitch, but do not remove the stitch from the needle. STOP! Turn the work around so that the knit side is facing you.
LOOK again. Practice pulling the yarn through the stitch (I just kept undoing the stitch and redoing it until I got the hang of how to move the needles. For me, this was the hardest motion to figure out.) Once you learn how to pull the yarn through the stitch, start from the beginning with the knit side facing you: insert LH needle into the stitch, wrap the yarn, and pull the yarn through.
Step four: You know what to do now :-) Repeat step three, but pull the stitch off the needle this time. After you do the first stitch, try working the next stitches without turning the work to the purl side. If you forget a motion, turn the work to the purl side to see what has to happen.
Learning to knit backward is simply a matter of teaching your hands to move in a new way. The process is similar to learning how to play an instrument. When learning to play the cello, I had to teach my fingers and arms to move correctly. That required a lot of repetition of the movement. Learning to knit backward easily and with a good tension required the same practice. So, I suggest casting on a lot of stitches and knitting all the stitches backward so that you practice the same movement over and over again with little interruption. Then, you can do it on your project! Happy Backward Knitting!
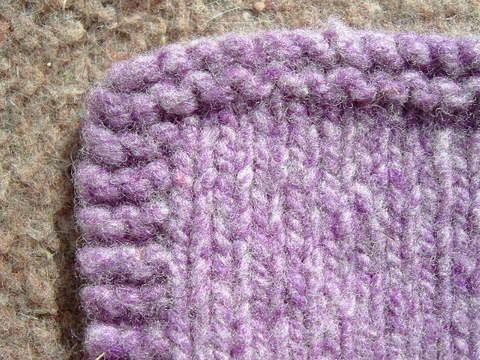
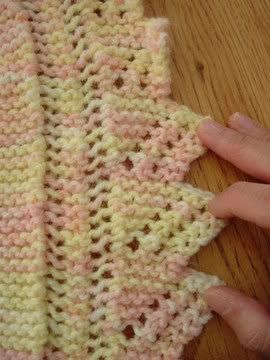
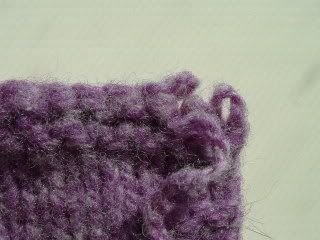 Despite all of this abuse, the swatch was the same size after washing as it was before washing. (After air drying). And I was able to undo the cast-off edge and pull out some stitches. Sure I had to use a little more pulling force than I would have if I hadn't thrown it in the wash, but the stitches still pulled out pretty neatly.
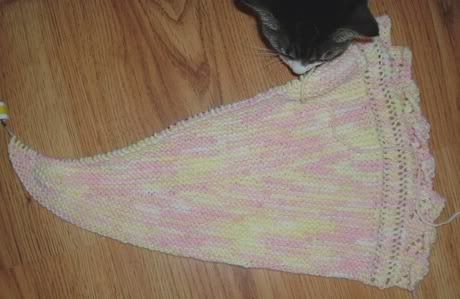
 When I last talked about my secret knitting, several of you had the impression that it was my secret. It isn't. That is, I'm not designing anything. I am simply providing the hands and the needles for a designer. I will not be revealing the secret. The secret is hers and it will be revealed in due time. And when it is, I will let you know.
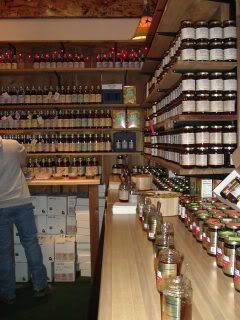 But there were some fun things in Fredericksburg.
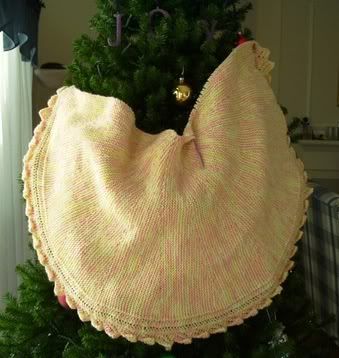
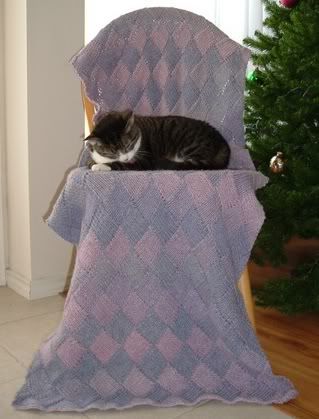
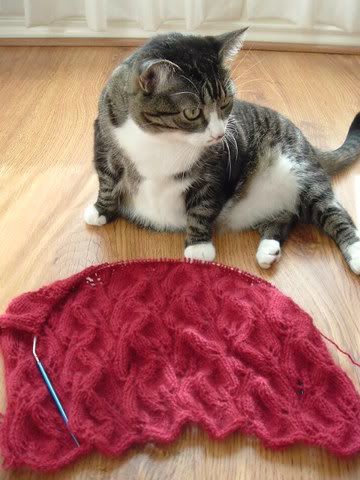
 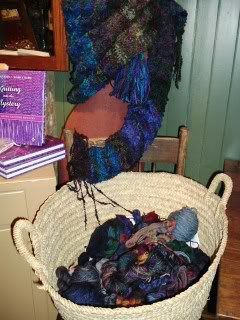 They also had some Mountain Colors in both worsted weight and sock yarn, but what they had on hand was mostly dark colorways and I didn't like any of them. However, they had a big basket of mill ends from Mountain Colors. It contained mini balls and mini hanks of different kinds of yarn produced by Mountain Colors. Some balls were large--probably 50 yards or more, but some were tiny--no more than 5 yards. The store sells these mill ends by the ounce and their customers use the mill ends for trimming knitted pieces or for making patchwork-like pieces. The shawl in the photo was made from mill ends of one type of yarn.

