For give me Fair Isle gods, for I have sinned . . .
 Some of you
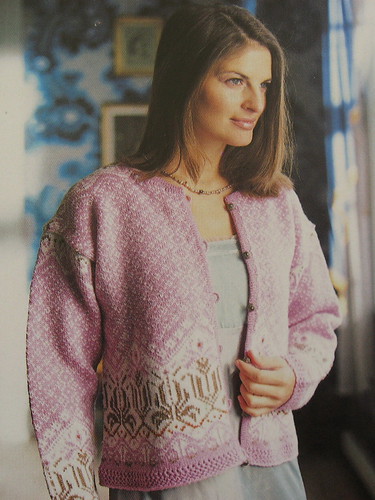
 may remember that I purchased a kit for the Dale of Norway Lotus sweater waaaay back at the
beginning of the year. I had intended to knit that sweater during the spring and summer figuring that it would keep me occupied during my long “no buying yarn” months.
Right.
As all of you probably noticed, I did not knit the sweater over the summer. In fact, I didn’t even take the yarn out of the bag until this past weekend. What took me so long? Well, honestly, I was a bit fearful of starting the sweater because I did not want to swatch for it.
Normally I am a very dedicated and compulsive swatcher when it comes to working on pieces where size matters. (When size doesn’t matter, I pretend that I don’t know what the word
swatch means.) I knit good-sized swatches, I wash them, block them, and
then measure them. If a swatch is not up to snuff, I repeat the process.
Now that I have sung my own praises about my excellent swatching technique, I have a confession to make. I don’t swatch in the round—not even for pieces that will be ultimately knit in the round. I know the swatch police would like to arrest me for this practice, but they shouldn’t. I have learned, through experience, that my flat-knitting gauge does not differ from my in-the-round knitting gauge. So no problems! Usually.
Lotus is obviously a Fair Isle sweater and, like all Dale of Norway Fair Isle sweaters, is knit in the round. Now I may think that I’m the most perfect even stockinette knitter in the world, but I am not foolish enough to think that my gauge knitting Fair Isle flat is exactly the same as my gauge knitting Fair Isle in the round. On the contrary, I know without even trying that my gauge knitting Fair Isle flat will be drastically different from knitting it in the round. That’s why I didn’t start Lotus sooner—I didn’t want to swatch Fair Isle in the round.
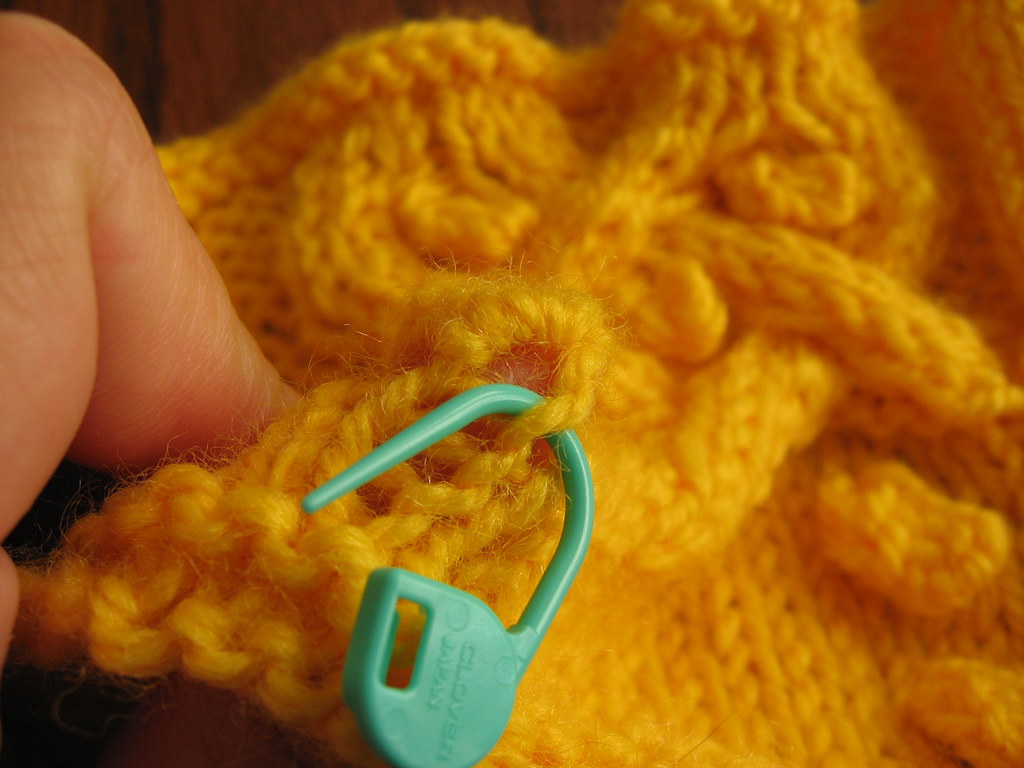
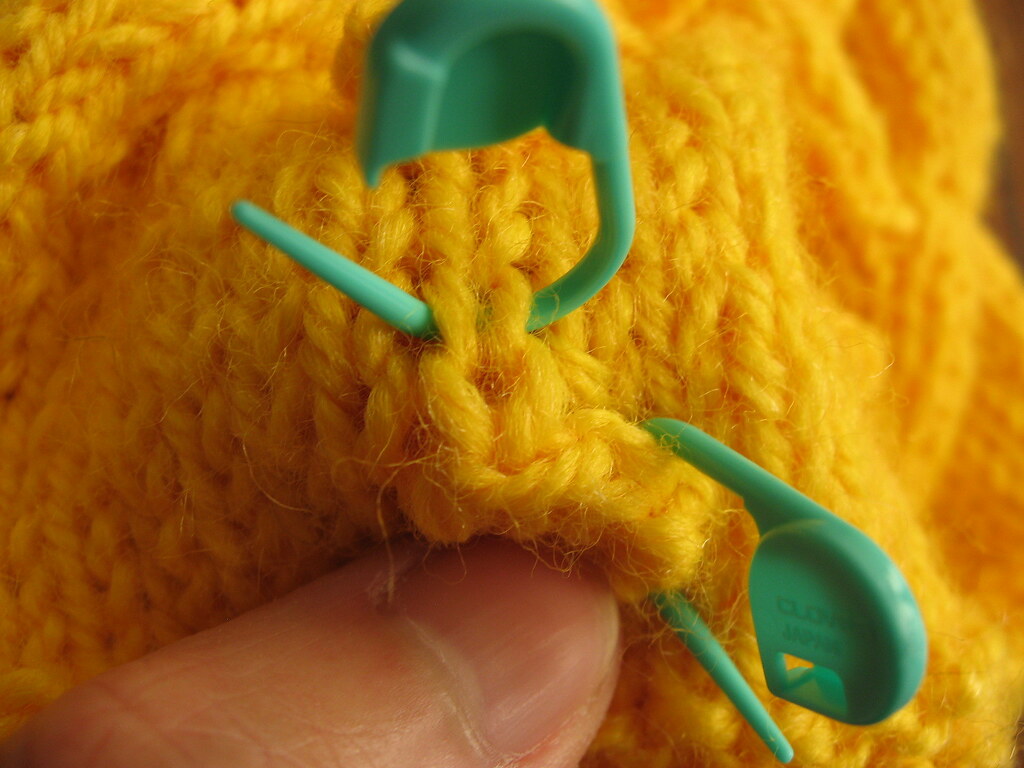
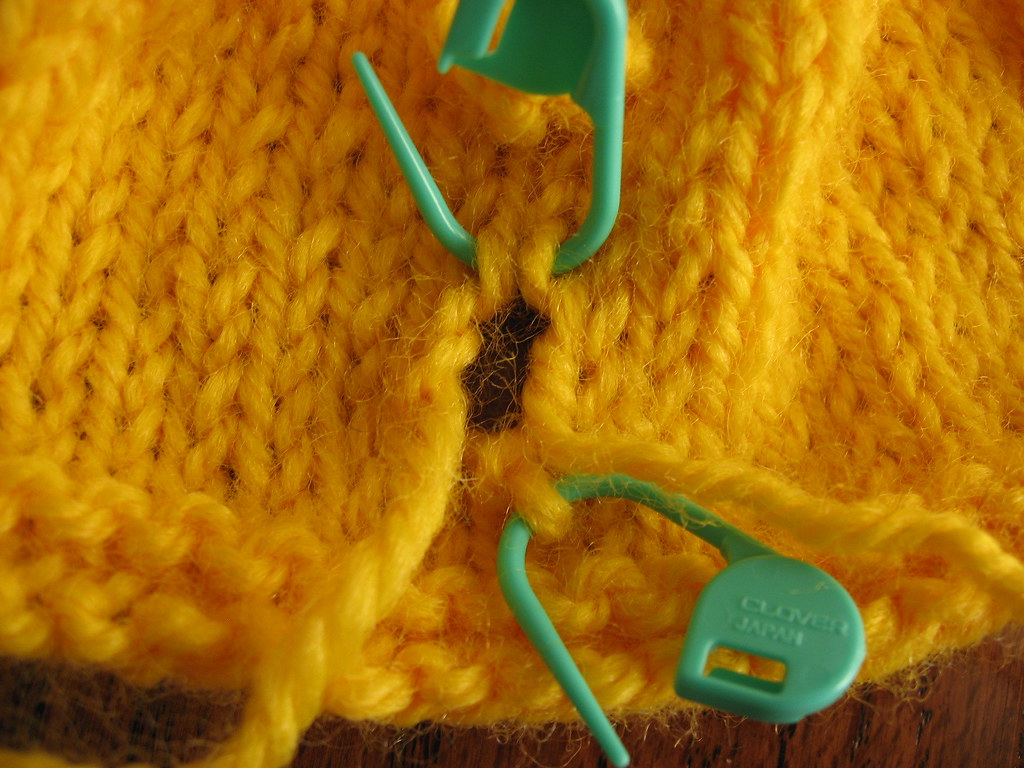
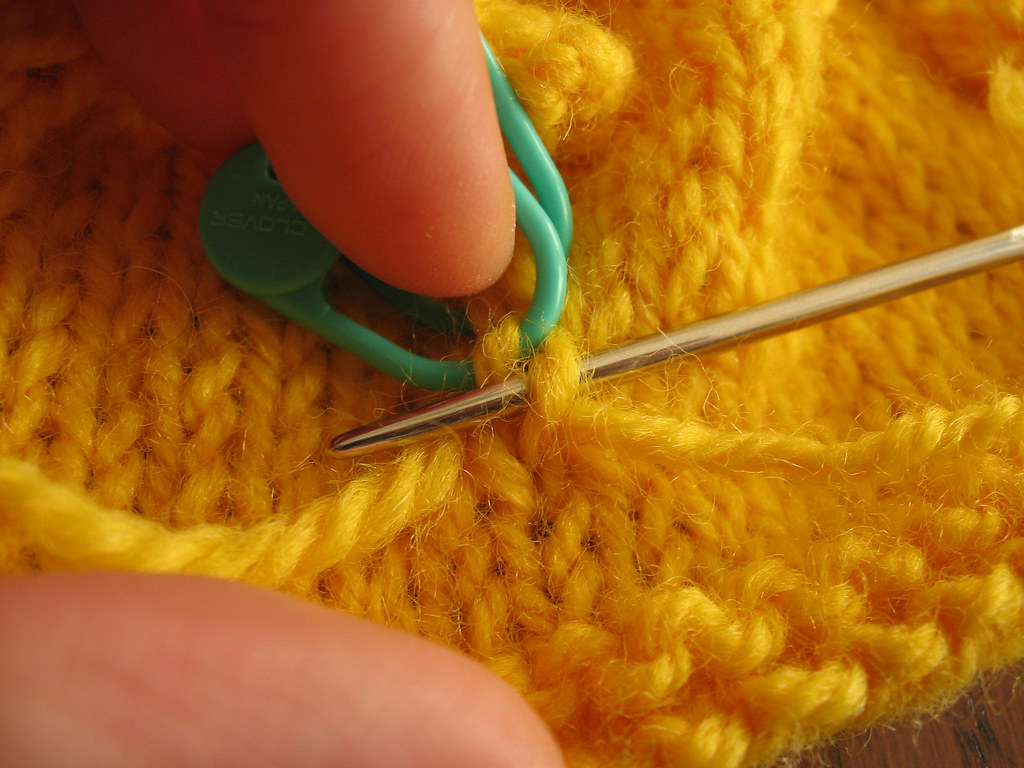
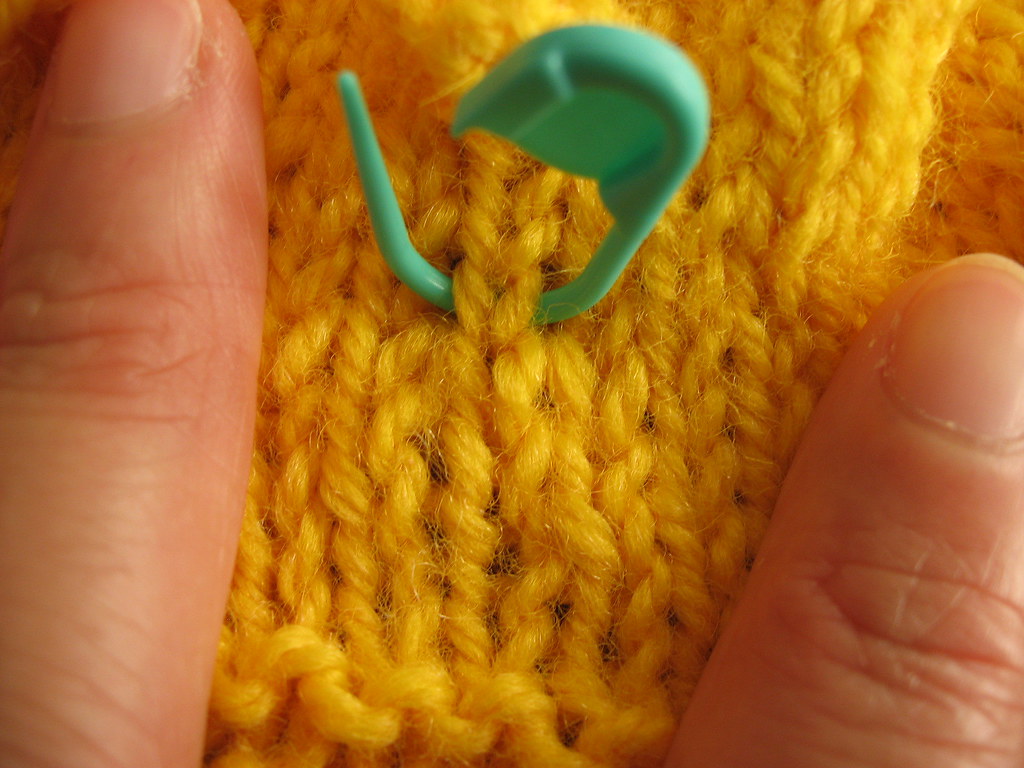
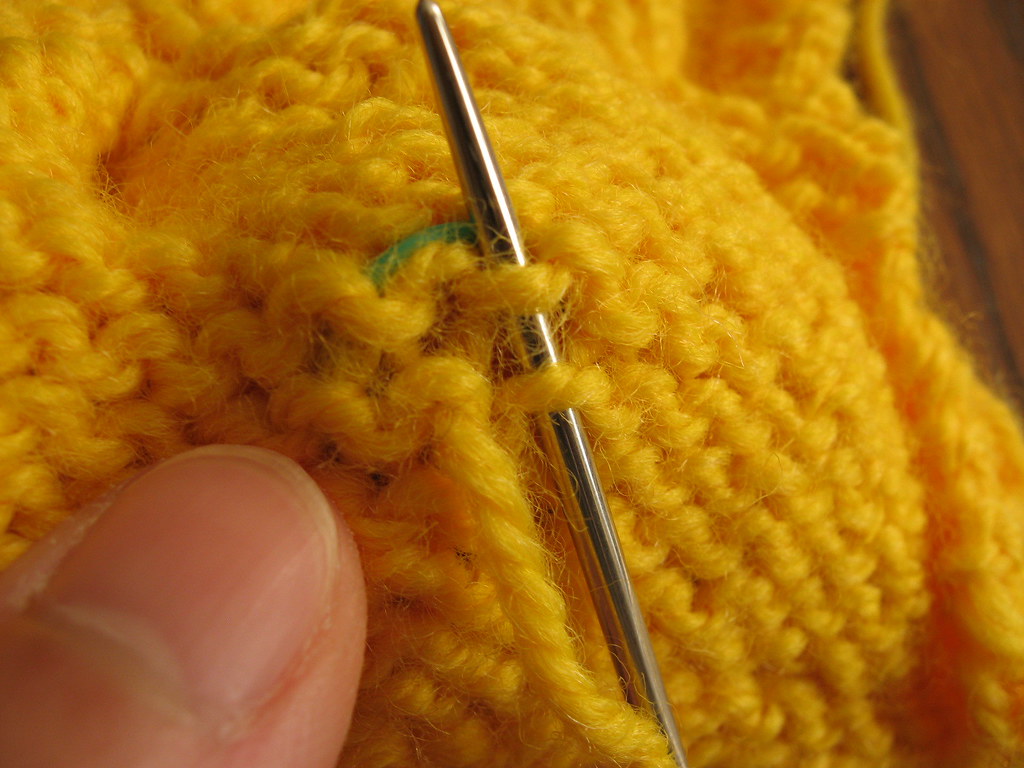
But over the weekend I bit the bullet. I started swatching for Lotus. And I really, truly tried to swatch it in the round. I tried the long-float-across-the-back method and the knit-tube-to-cut-open method but both methods were so fiddly for me that I was sure that I wasn’t going to get an accurate gauge measurement anyway. Plus the swatches looked like crap. So the swatches were frogged and I knit the dang swatch flat. Shame on me.
I know that I was asking for trouble but I felt that the troubles that I was inflicting on myself for knitting the swatch flat would be equivalent to the troubles that would happen if I depended on the gauge from an ugly swatch produced by an overly fiddly method. And, I reasoned, at least if I knit the swatch flat, I wouldn’t be irritated making the swatch. I’m sure many of you would tell me that doing Fair Isle on the purl side is rather fiddly as well, but at least it’s a fiddliness that I have dealt with before and that I can manage without wanting to throw the knitting across the room.
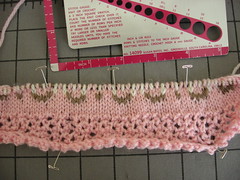
So I knit the swatch flat. Initially the gauge was a bit tight, but a nice bath and overnight air drying caused the swatch to bloom to just the right size. I cast on with only minor anxiety.
I knit the bottom border. Hmmm. Seems a bit too wide. Oh well, you can’t really measure a narrow piece like that on the needles. La de da. After knitting the border, I measured the length of my needle—it’s supposedly a 40” Addi, but it’s really a 38.75” Addi. Cheaters. But at least that explains why the piece will fit on the needle when joined in the round. Perhaps the piece isn’t too wide after all. La de da. I started the Fair Isle bit. I knit and knit and knit. 270 stitches + 6 cutting stitches every round is a lot to knit.
Then, for some reason, I felt compelled to measure my gauge. It is TOO BIG. Imagine that. It’s off by one lousy stitch over four inches, which is close, but as my junior high history teacher always said, “Close only counts in horseshoes and hand grenades.” One lousy stitch over 270 stitches is 1.5 inches. That’s 1.5 inches of extra ease on something that will already have about 3 inches of ease. Also, that gauge was measured
before washing and blocking so the final gauge is probably off by more than one lousy stitch. Nope. It isn’t going to work.
It shall be frogged. I will go down a needle size. I will measure my gauge again and hope and pray that it will be right.
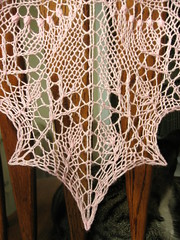
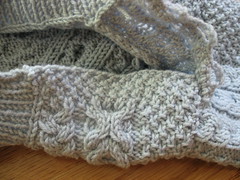
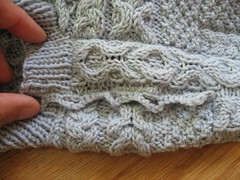
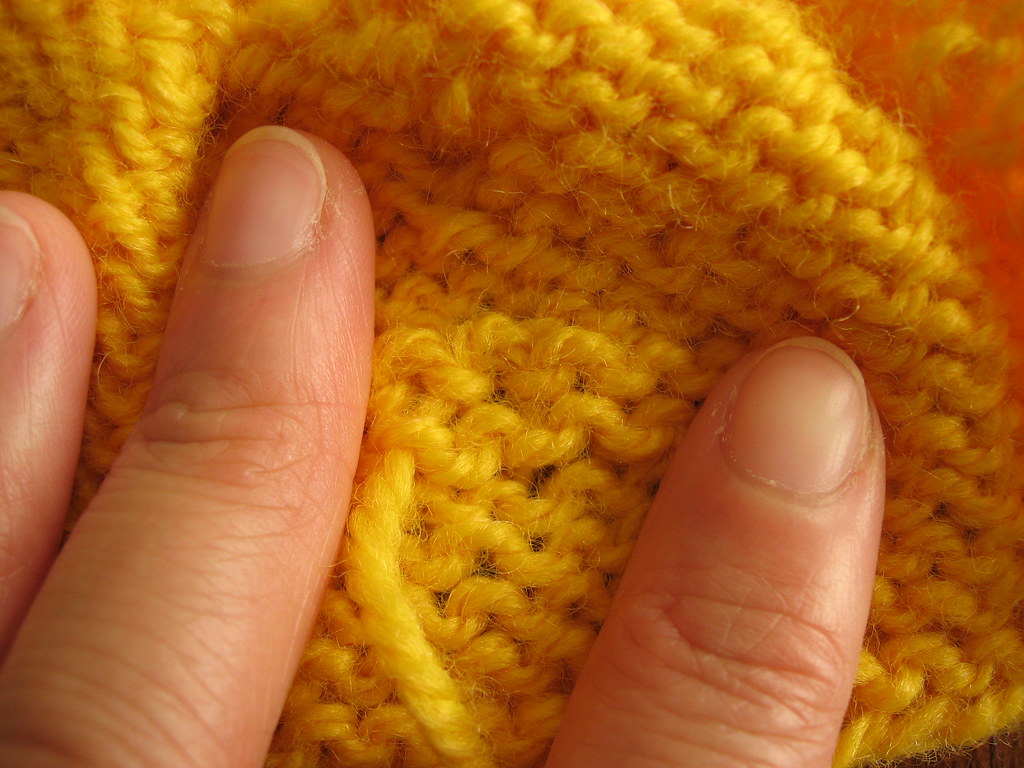
One shining point in my sad trip to the frog pond—I’ll be able to replace the ugly, curling mesh border pattern with a simple, sturdy, non-curling garter stitch border.
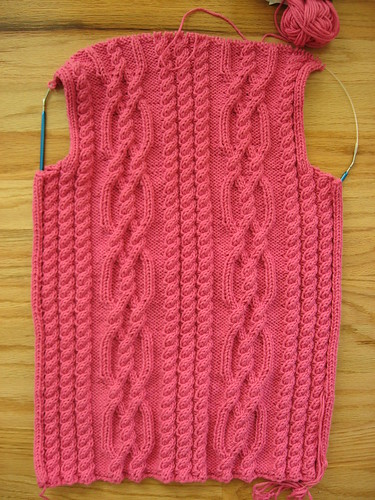
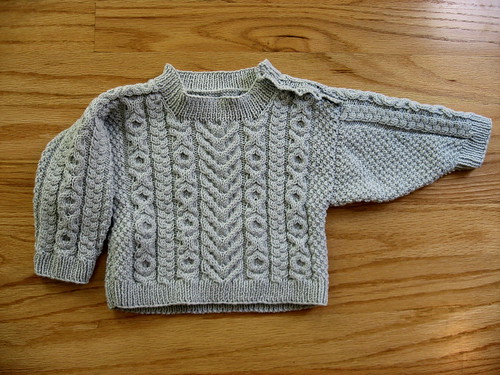
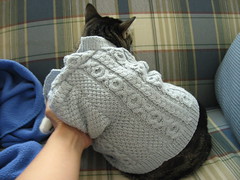
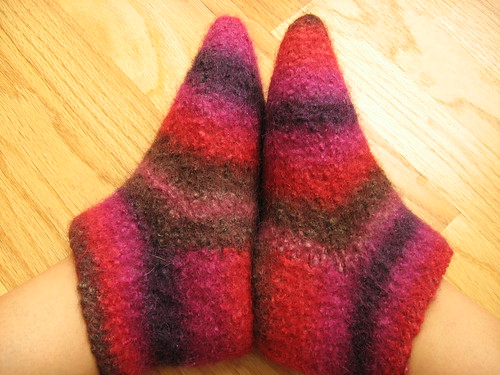
What does one do after she’s offended the Fair Isle gods? Go pay homage to the Cable gods, of course!
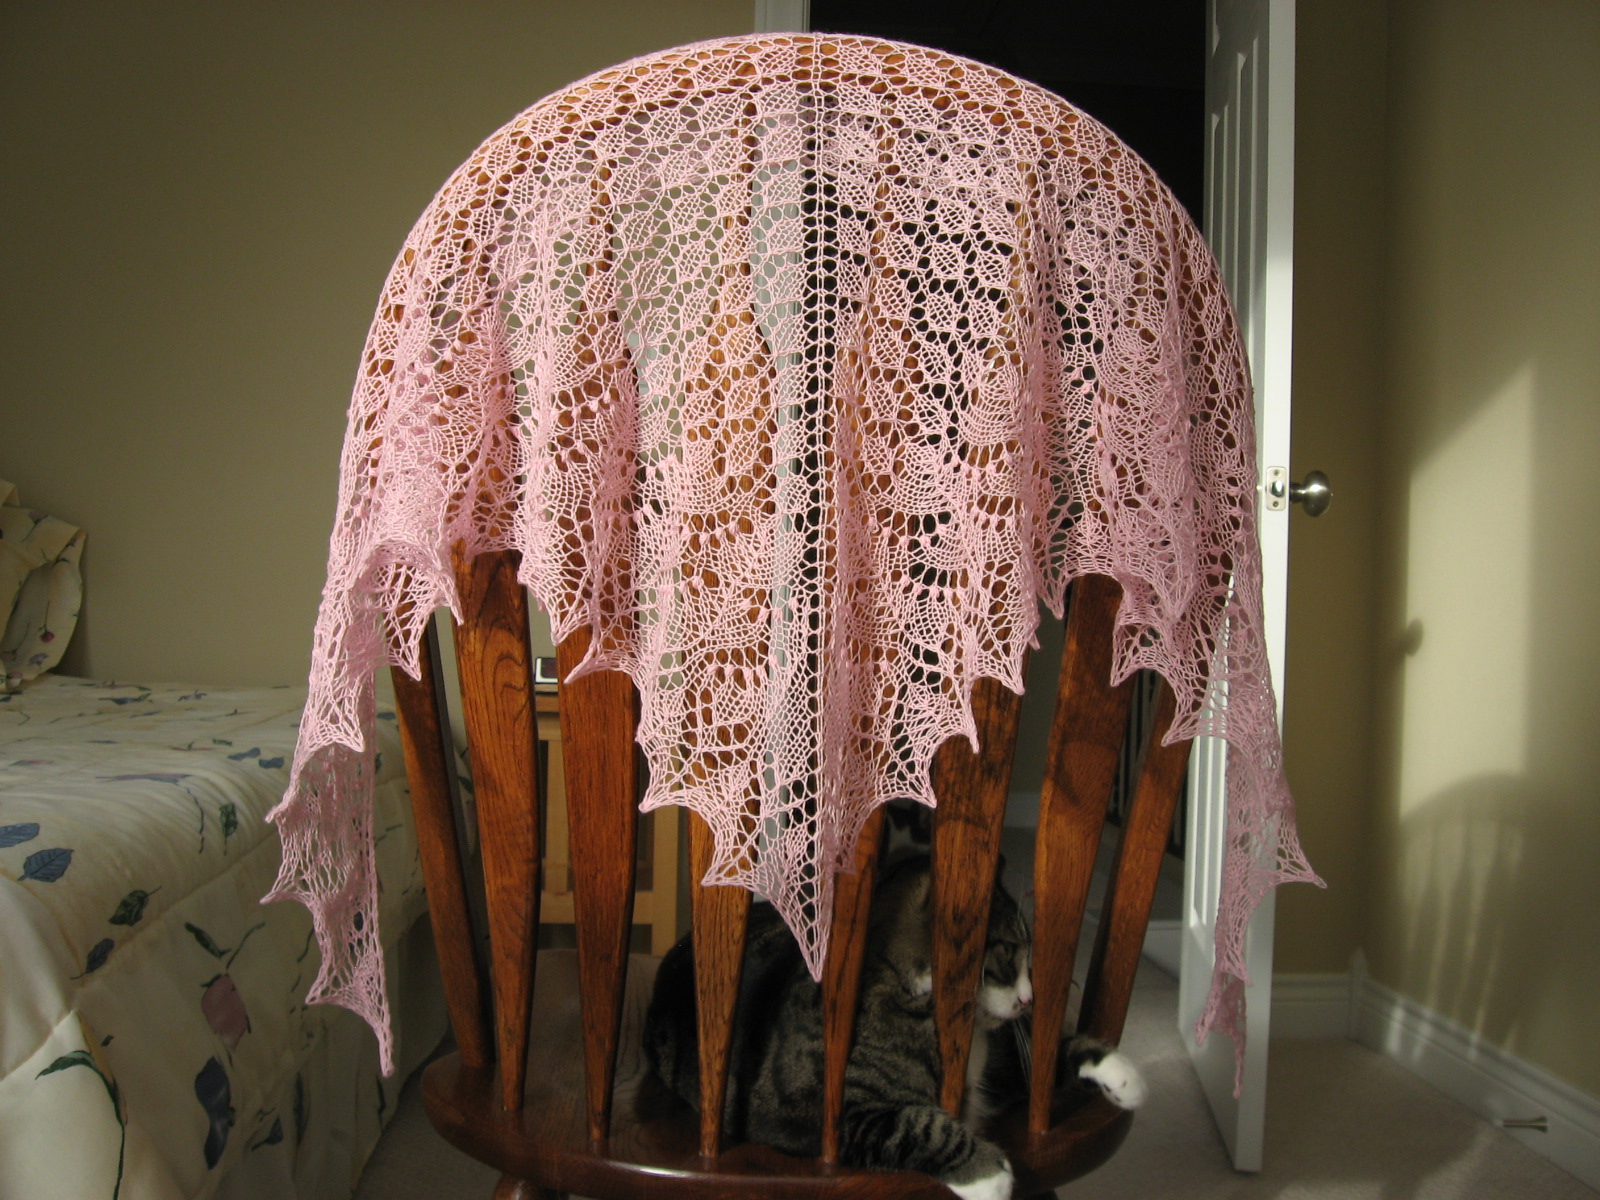
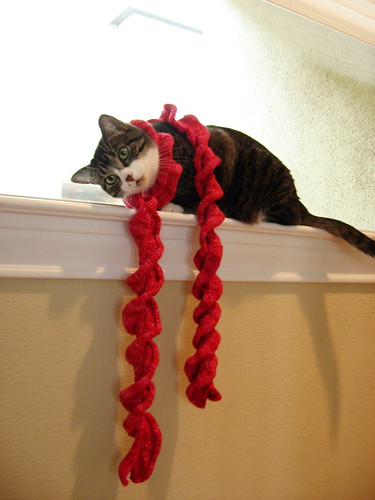
 1) I cast on for this project because I needed airplane knitting. Lugging big sweater pieces on airplanes was not my idea of a good time. Plus, my sweaters are on long metal circular needles, the possession of which would have marked me as a terrorist when going through TSA security. If I hadn’t been flying, I probably wouldn't have made this shawl at this time.
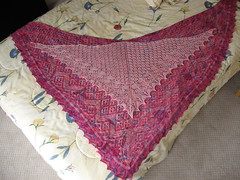 • The shawl is pretty tiny and it’s bigger than the dimensions given in the pattern! Scarf would be a better name for it. Here’s a size comparison between the Shaped Triangle Horse Blanket and the Swallowtail Scarf. The Horse Blanket doesn’t even fit on the bed. The Scarf, on the other hand, is a good size for a Scout Blanket. (In fact, Peter calls this shawl Scout’s Shawl.)
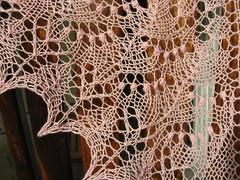


