Wednesday, November 29, 2006

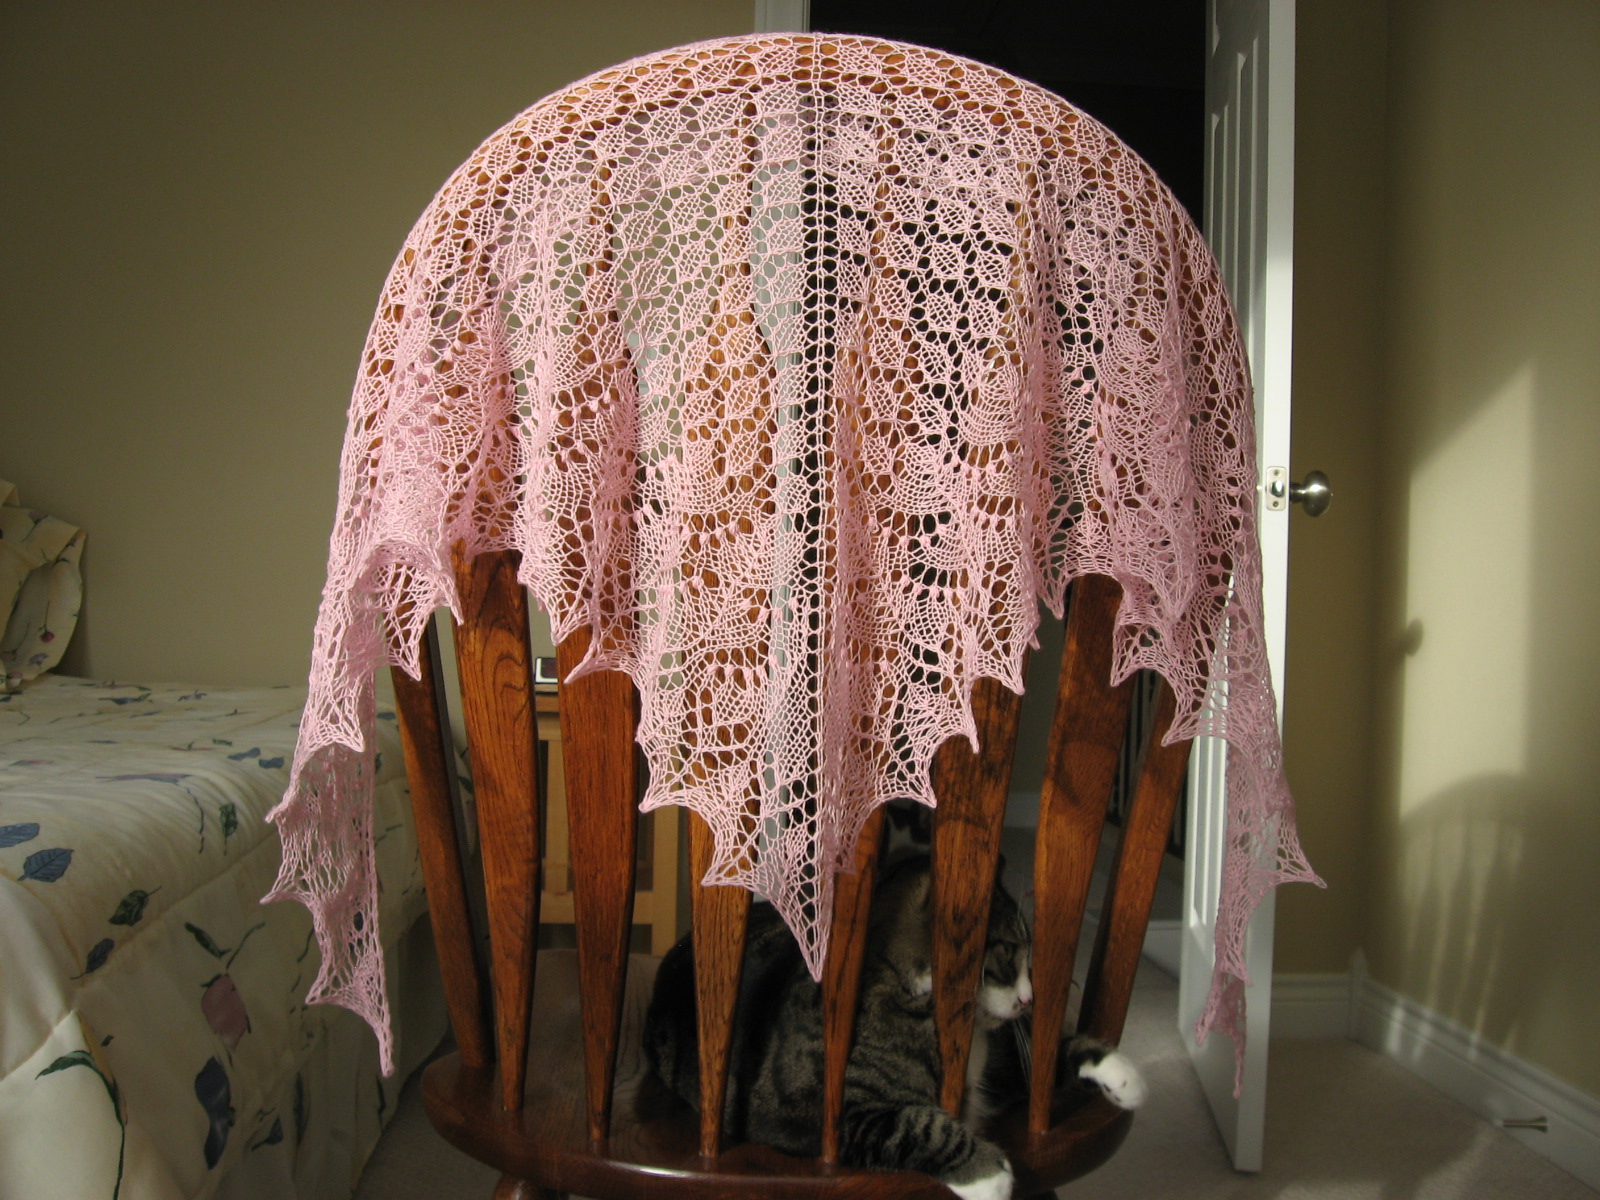
FO: IK Swallowtail Shawl

. . . and I'm back! Okay, I came back home last week but I've been extremely busy since then. As a result I have lots to say, but I'll limit my blatherings to knitting.

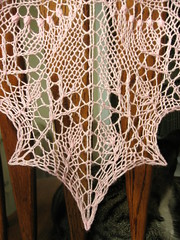
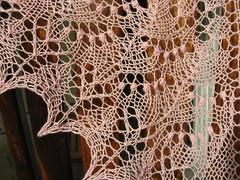
Swallowtail Shawl

It's my shawl, says Scout

Pattern: Swallowtail Shawl from Interweave Knits Fall 2006
Yarn: Belisa Cashmere in pink (100% cashmere, 500 yards/ball), less than one ball
Needles: US size 4, 3.5 mm
Finished Dimensions: 57 inches wide, 25.5 inches tall

Comments:

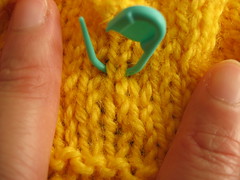
Tip.JPG1) I cast on for this project because I needed airplane knitting. Lugging big sweater pieces on airplanes was not my idea of a good time. Plus, my sweaters are on long metal circular needles, the possession of which would have marked me as a terrorist when going through TSA security. If I hadn’t been flying, I probably wouldn't have made this shawl at this time.

2) I’m not terribly excited or pleased with the way the shawl turned out:
I still have 9 grams of the original 50 grams. That means a whole 90 yards of this delicious cashmere is going to waste.
The gauge is a bit too big for the yarn. But going down a needle size would produce an even littler shawl. Plus, I only have one TSA approved set of knitting needles and they are size 4!
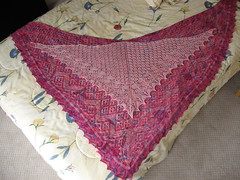
Horse Blanket versus Scout Blanket The shawl is pretty tiny and it’s bigger than the dimensions given in the pattern! Scarf would be a better name for it. Here’s a size comparison between the Shaped Triangle Horse Blanket and the Swallowtail Scarf. The Horse Blanket doesn’t even fit on the bed. The Scarf, on the other hand, is a good size for a Scout Blanket. (In fact, Peter calls this shawl Scout’s Shawl.)

3) Is the Swallowtail Scout Blanket destined for the frog pond? Maybe. Probably. I’ll keep my eyes out for a better pattern. I know what I’m looking for now: a rectangular lace scarf that has a very short row repeat and no border so that I can use up every last bit of cashmere goodness. Yes I’m serious about frogging it—I didn’t even trim the ends so that I could pick them out when the time comes.

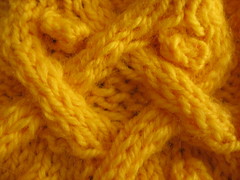
Edge.JPG

Friday, November 17, 2006

See you soon!

I'm going on a short vacation starting tomorrow. Internet access may be spotty. I'll answer emails and such when I return at the end of next week. Scream at me if you want special attention.

Happy Turkey Day to all!

Tuesday, November 14, 2006

Paying penance for sins against the Fair Isle gods

For give me Fair Isle gods, for I have sinned . . .
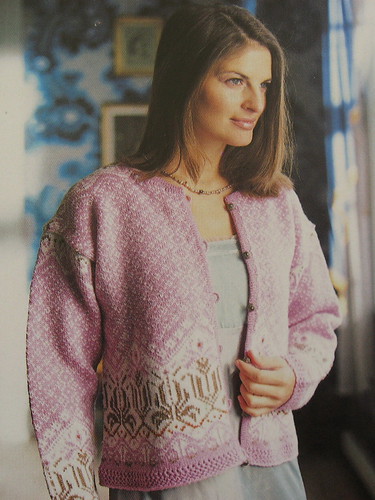
LotusPhoto.JPGSome of you may remember that I purchased a kit for the Dale of Norway Lotus sweater waaaay back at the beginning of the year. I had intended to knit that sweater during the spring and summer figuring that it would keep me occupied during my long “no buying yarn” months.

Right.

As all of you probably noticed, I did not knit the sweater over the summer. In fact, I didn’t even take the yarn out of the bag until this past weekend. What took me so long? Well, honestly, I was a bit fearful of starting the sweater because I did not want to swatch for it.

Normally I am a very dedicated and compulsive swatcher when it comes to working on pieces where size matters. (When size doesn’t matter, I pretend that I don’t know what the word swatch means.) I knit good-sized swatches, I wash them, block them, and then measure them. If a swatch is not up to snuff, I repeat the process.

Now that I have sung my own praises about my excellent swatching technique, I have a confession to make. I don’t swatch in the round—not even for pieces that will be ultimately knit in the round. I know the swatch police would like to arrest me for this practice, but they shouldn’t. I have learned, through experience, that my flat-knitting gauge does not differ from my in-the-round knitting gauge. So no problems! Usually.

Lotus is obviously a Fair Isle sweater and, like all Dale of Norway Fair Isle sweaters, is knit in the round. Now I may think that I’m the most perfect even stockinette knitter in the world, but I am not foolish enough to think that my gauge knitting Fair Isle flat is exactly the same as my gauge knitting Fair Isle in the round. On the contrary, I know without even trying that my gauge knitting Fair Isle flat will be drastically different from knitting it in the round. That’s why I didn’t start Lotus sooner—I didn’t want to swatch Fair Isle in the round.

But over the weekend I bit the bullet. I started swatching for Lotus. And I really, truly tried to swatch it in the round. I tried the long-float-across-the-back method and the knit-tube-to-cut-open method but both methods were so fiddly for me that I was sure that I wasn’t going to get an accurate gauge measurement anyway. Plus the swatches looked like crap. So the swatches were frogged and I knit the dang swatch flat. Shame on me.

I know that I was asking for trouble but I felt that the troubles that I was inflicting on myself for knitting the swatch flat would be equivalent to the troubles that would happen if I depended on the gauge from an ugly swatch produced by an overly fiddly method. And, I reasoned, at least if I knit the swatch flat, I wouldn’t be irritated making the swatch. I’m sure many of you would tell me that doing Fair Isle on the purl side is rather fiddly as well, but at least it’s a fiddliness that I have dealt with before and that I can manage without wanting to throw the knitting across the room.

So I knit the swatch flat. Initially the gauge was a bit tight, but a nice bath and overnight air drying caused the swatch to bloom to just the right size. I cast on with only minor anxiety.

I knit the bottom border. Hmmm. Seems a bit too wide. Oh well, you can’t really measure a narrow piece like that on the needles. La de da. After knitting the border, I measured the length of my needle—it’s supposedly a 40” Addi, but it’s really a 38.75” Addi. Cheaters. But at least that explains why the piece will fit on the needle when joined in the round. Perhaps the piece isn’t too wide after all. La de da. I started the Fair Isle bit. I knit and knit and knit. 270 stitches + 6 cutting stitches every round is a lot to knit.
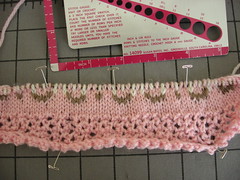
LotusStart.JPGThen, for some reason, I felt compelled to measure my gauge. It is TOO BIG. Imagine that. It’s off by one lousy stitch over four inches, which is close, but as my junior high history teacher always said, “Close only counts in horseshoes and hand grenades.” One lousy stitch over 270 stitches is 1.5 inches. That’s 1.5 inches of extra ease on something that will already have about 3 inches of ease. Also, that gauge was measured before washing and blocking so the final gauge is probably off by more than one lousy stitch. Nope. It isn’t going to work.

It shall be frogged. I will go down a needle size. I will measure my gauge again and hope and pray that it will be right.

One shining point in my sad trip to the frog pond—I’ll be able to replace the ugly, curling mesh border pattern with a simple, sturdy, non-curling garter stitch border.

What does one do after she’s offended the Fair Isle gods? Go pay homage to the Cable gods, of course!
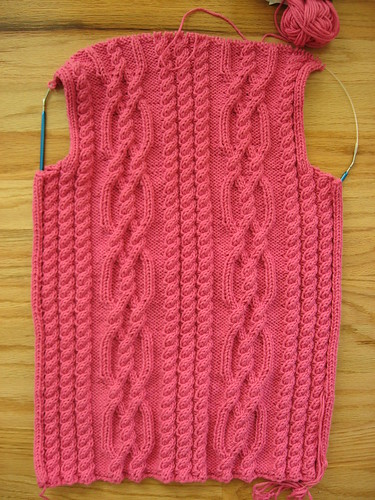
GatheringBack.JPG

Friday, November 10, 2006

Baby Aran and Ruffles: Two FOs for the Price of One

I finished two projects last week but never got around to blogging about them. I guess I was distracted by the bobblectomy. Without further ado, I present a sweater and a scarf:

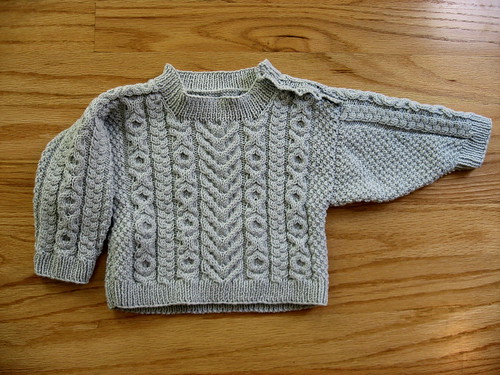
Baby Aran

AranFO.jpg

Pattern: Heirloom Aran Baby Set (but just the sweater, not the hat) from Interweave Knits Spring 2004, size 12 months
Yarn: Rowan 4-Ply Soft in color 370 “Whisper,” 100% merino wool, 191 yards per ball, 3 balls used
Needles: US size 3
Recipient: Nephew Loganberry
Comments:
1) I didn’t do any modifications to this sweater. I didn’t even use a 3-needle bind-off for the shoulder seams because the sweater has saddle shoulders.

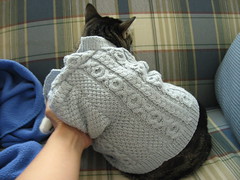
Oh the indignity! says Scout2) You’ll notice that Scout is not modeling this sweater. Putting a cat into a pullover and getting her to pose for photos is much harder than draping a cardigan over her back. Unfortunately for Scout, I still tried to get a torture modeling photo anyway. Yes, that is the only photo that I managed to take before she started trashing around. I had to get the sweater off her FAST.

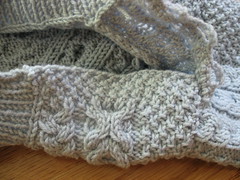
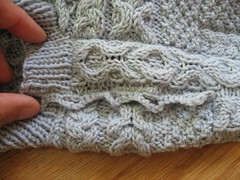
3) I still need to find some good buttons to put on the button placket. However, I find the button placket position to be a bit weird.

See button placket.
What a nice place to put buttons!

See saddle strap covering up entire button placket.
What the heck?!

Uh, aren’t you supposed to sew buttons onto the button placket? If I did that, the saddle strap wouldn’t sit straight. I’m confused. Should I sew the buttons right where the placket meets the front of the sweater? Is the placket there just so that one doesn’t have to sew the buttons right on the top edge of the front?

Ruffles
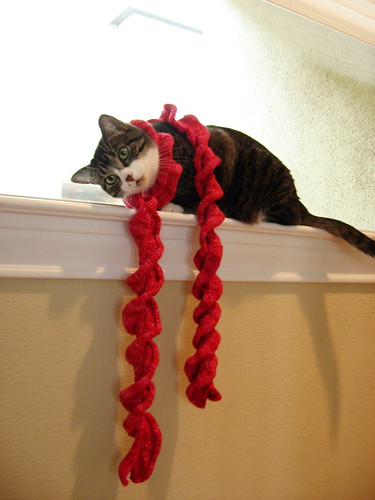
What are you doing with my toy?

Pattern: Ruffles scarf from Scarf Style
Yarn: Handmaiden Silk Maiden in Berry, 50% silk, 50% wool, 300 yards, 1 hank
Needles: US size 7
Finished length: 56 inches, a decent length for a “decorative” scarf
Cat: Scout (I love it when she cocks her head like that)
Peter’s Sarcastic Comment: “Wow, it looks so warm!”
My Comment: I washed the scarf and now I wish I hadn’t. The yarn became much more drape-y and my nice tight fusilli spiral is now floppy. *sigh* But I still love it because it’s soft and curly and red.

Wednesday, November 08, 2006

Bobblectomy Tutorial

Instructions on how to remove unslighty bobbles.

Remember my bobble-ful Serenity sweater? I threatened to cut off all the bobbles when I got the sweater back from Yarntopia. Well, the sweater is still there, but I decided to try some practice bobblectomies to see how annoying it would be.

So here it is, just for you, my first bobblectomy!

(click photos for biggie versions)

The starting swatch. I made a few practice bobbles (just in case I screwed up) and then started the Serenity cable pattern. I'm using some very bright, leftover Encore.
Swatch.JPG

First, anchor the stitches above and below. This will prevent the stitches from dropping and will give you some guidance after the bobble is gone. Leave the stitch markers in place until you're happy with your work.

Put a stitch marker in the stitch below. This bobble was started by k1, p1, k1 into one stitch. So here's a marker in that stitch.
CatchBottom.JPG

Put a marker in the stitch above. Note that the marker goes through both legs of the stitch above! This bobble ended with sl1, k2tog, psso. The big-ish stitch below the marker in the photo was the last stitch of the bobble.
CatchTop.JPG

Find the middle stitch of the bobble. I put a marker in just to show the stitch. You don't have to find the stitch exactly in the middle, but you should be close. CUT one of the legs of the middle stitch.
MiddleStitch.JPG

Unravel both ends. The bottom will unravel easily, but the top will need to be picked out. When you're done, you should have one end on the right of the hole and one end on the left.
Hole.JPG

Now you need to replace the bobble with a stitch—in this case a knit stitch. I'm starting with the end on the right of the hole. First, thread the yarn up (from back to front) through the stitch below (your stitch marker should still be there to help you).
Step1.JPG

Next, thread the yarn through the stitch above—go through both legs of the stitch! Again, use your stitch marker for guidance. (Your needle will go down through the right leg and up through the left leg. Photo shows both happening at once.)
Step2.JPG

Finally, thread the yarn down through the stitch below.
Step3.JPG

Tada! A new stitch where the bobble used to be! I removed the bottom marker but left the top one so you could see where the new stitch was created.
Done!.JPG

Now thread both ends to the back of the work and weave the ends in opposite directions. The end that was to the right of the hole should be woven to the left, and the end that was to the left of the hole should be woven to the right. Use this article by the s'wonderful Theresa for help in weaving ends.
WeaveEnd1.JPG

Weave through a few stitches in each direction, making the back of the work nice and tidy. Trim ends.
WovenEnds.JPG

And here's the cable pattern with one bobble removed. I followed the same technique that I showed above except I replaced the bobble with a purl stitch.
CableDone.JPG

The whole process worked as I anticipated it would, but I'm not sure I would want to repeat it so many times for the sweater. Plus, the thought of cutting all that beautiful yarn into short bits makes me cry.

Friday, November 03, 2006

Happiness is . . .

. . . meeting your friends for the first time.

Last night was a spectacular night at the Central Houston SnB. I finally met two Houston knitbloggers who I have been dying to meet: Drew The Crochet Dude and Elizabeth of a Mingled Yarn. Of course, I didn't have my camera with me to take photos. Perhaps I’m not a dedicated enough knitblogger. Some day I will learn to drag my carmera wherever I go.

Drew had a surprise for me: he brought the final proofs of Men Who Knit & the Dogs that Love Them so that I could see them! The book is amazing. I can’t wait to get my own copy—I’m sure that some of the dog sweaters could be made Scout-sized.

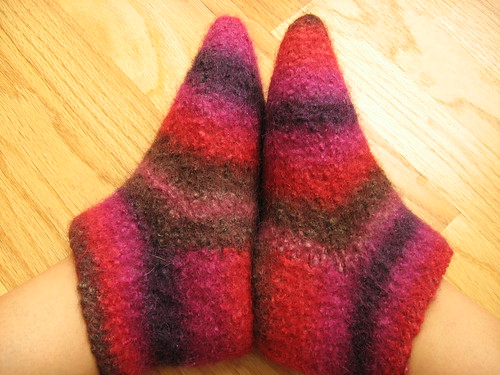
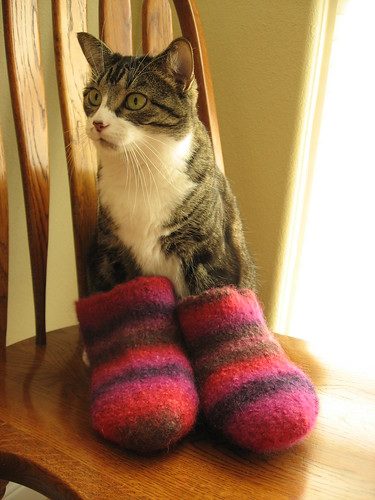
. . . Fuzzy Feet!

Warm toes, warm heart

Pattern: Fuzzy Feet by the fabulous Theresa available at Knitty
Yarn: Patons SWS in Natural Plum (70% wool, 30% tofu), two balls
Needles: US size 11 DPN
Comments: I purposely tried not to have matching stripes on the slippers. I figured that if I tried to make them match and they didn’t match I would be much more annoyed than I would be if the stripes didn’t match at all. But look! The stripes tried as hard as they could to match up anyway.

The texture of the felted fabric looks sort of like I knit with boucle yarn. I suppose it’s the unfelted tofu soy part of the yarn. The soy part certainly didn’t interfere with the felting process. This stuff felted fast!

Some random photos:
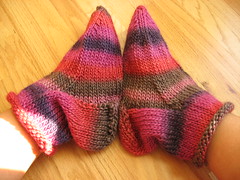
Prefelting:
My what big feet I have!

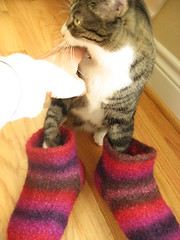
On Scout:
Why does she do this to me?

Yes, her paws are really in the slippers. After the last post of Scout some of you to accused me of having a stuffed cat and/or drugging poor little Scout. However, neither is true. Scout just helps me out with these photos. Sometimes. She didn’t want to put on the Fuzzy Feet at first.
I'll get you Mommy!
“STOP it Mommy! I have teeth
and I’m not afraid to use them!”